Mac flashing folder with question mark tips:
The iconic folder with a question mark on a MacBook screen is enough to strike fear into the heart of any user. It’s like the modern-day version of that blue screen of death from back in the day. But fear not, my friend, for we shall embark on this journey together, and hopefully, emerge victorious at the end.
Let’s start with the basics. The folder with a question mark means that your MacBook cannot find a valid startup disk. In layman’s terms, it’s like your computer can’t find its shoes, so it doesn’t know how to start the day. It’s not an uncommon problem, and it can happen for a variety of reasons.
So, how do we get this fixed up? Well, let’s start with the basics: give your MacBook a good ol’ restart. It’s surprising how often this straightforward action can resolve the issue. If that doesn’t do the trick, we’ll need to adopt a more unconventional approach and dig a little deeper.

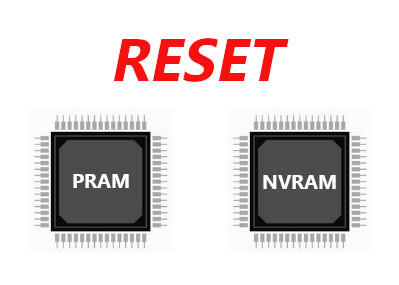
Next up, let’s try resetting the NVRAM and SMC. I know, it sounds like a bunch of alphabet soup, but trust me, it’s a thing. To reset the NVRAM, just hold down Command + Option + P + R while your MacBook is starting up. You’ll hear a couple of chimes, and then you can let go. To reset the SMC, shut down your MacBook, and then hold down Shift + Control + Option + Power for about 10 seconds. Again, you’ll hear a couple of chimes, and then you can let go.
If that still doesn’t do the trick, it’s time to bust out the big guns. You have two options here: you can install a new version ‘on top’ of the old version, which will keep your data and settings intact, or you can do a ‘clean install,’ which means you’ll lose everything on your startup disk.
A clean install can be helpful if there are underlying problems with your current macOS installation.
Here’s how to do both:

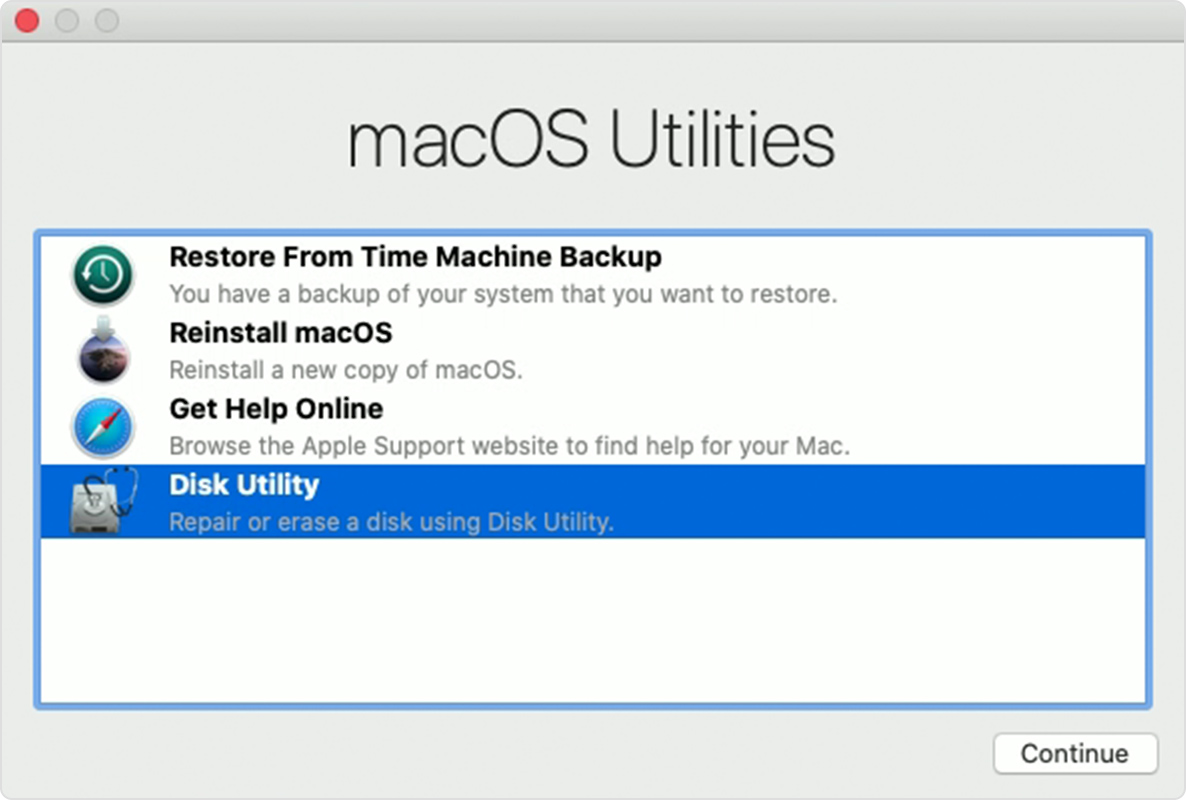
Boot your MacBook into Recovery Mode by holding down Command + R while it’s starting up. From there, you can try using Disk Utility to repair your startup disk. If that doesn’t work, you may need to reinstall macOS. Don’t worry, it won’t erase your files. It’ll just reinstall the operating system files, which should hopefully fix the problem. Now, if you’ve already tried repairing your startup disk and that didn’t fix the issue, the next step is to reinstall macOS.
Reinstall on Top of Old System
- Boot your Mac into recovery mode. You can do this by restarting your Mac and holding down the Command & R keys until you see the Apple logo.
- Once you’re in recovery mode, select ‘Reinstall macOS’ from the macOS Utilities menu.
- Follow the on-screen instructions to reinstall macOS. When the reinstall is complete, you’ll have the option to restore your Mac from a Time Machine backup. If you have a recent backup, this is a good time to use it. If not, you can set up your Mac as a new machine.
Clean install (Reset to factory settings)
- If you decide to do a clean install, boot your Mac into recovery mode (as described above).
- Once you’re in recovery mode, open Disk Utility from the macOS Utilities menu.
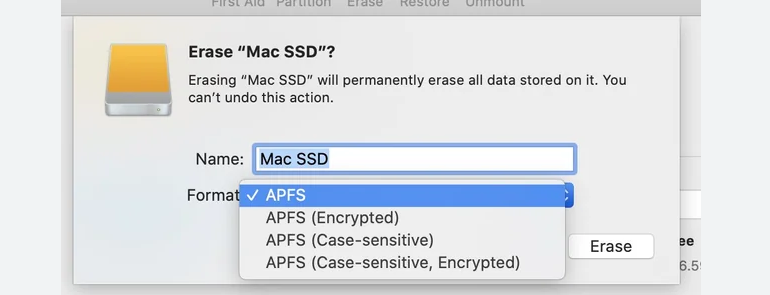
- Select your startup disk in the sidebar, then click ‘Erase’ in the toolbar.
- Give the disk a name and format it as ‘APFS.’ Click ‘Erase’ again, and confirm that you want to delete everything on the disk.
- Once the disk has been erased, quit Disk Utility and return to the macOS Utilities menu.
- Select ‘Reinstall macOS’ and follow the on-screen instructions. When the reinstall is complete, you’ll have the option to restore your Mac from a Time Machine backup, if you have one.

If you’re unable to perform a clean install using recovery mode, there are a few final options you can try:
Use Internet Recovery Mode: If your Mac was manufactured in 2011 or later, you can use Internet Recovery Mode to reinstall macOS. This mode allows you to reinstall the version of macOS that originally came with your Mac or the closest version still available. To access Internet Recovery Mode, turn off your Mac, then turn it back on and immediately hold down the Option + Command + R keys until you see the globe icon. Follow the on-screen instructions to connect to a Wi-Fi network and reinstall macOS.
Create a Bootable Installer: If you have access to another Mac, you can create a bootable macOS installer on a USB drive. This will allow you to reinstall macOS without using recovery mode. You’ll need a USB drive with at least 16GB of storage and the macOS installer app from the App Store. Follow these steps to create a bootable installer:
- Download the macOS installer from the App Store and save it to your Applications folder.
- Connect your USB drive to your Mac.
- Open Disk Utility from the Utilities folder in Applications.
- In Disk Utility, select your USB drive in the sidebar, then click the ‘Erase’ button in the toolbar.
- Give the drive a name, then select ‘Mac OS Extended (Journaled)’ as the format. Click ‘Erase’ to format the drive.
- Open Terminal from the Utilities folder in Applications.
- Enter the following command to create a bootable installer:
Use Another Mac: If you have access to another Mac, you can connect your Mac to it using Target Disk Mode and use the other Mac to reinstall macOS. To use Target Disk Mode, follow these steps:
- Turn off your Mac.
- Connect your Mac to the other Mac using a Thunderbolt or USB-C cable.
- Turn on your Mac while holding down the T key.
- Your Mac will appear as an external drive on the other Mac. You can then use the other Mac to reinstall macOS on your Mac.
If you’re still seeing the folder with a question mark after all that, it’s time to consider the possibility of a hardware issue. This could be a failing hard drive, a faulty cable connection, or a problem with the logic board. If you suspect a hardware issue, your best bet is to take your MacBook to an Apple Store or an authorized Apple service provider.
macOS Bootable Recovery Tool – USB Companion –
Having an essential tool on-hand can give you peace of mind, knowing that you have a backup plan in case something goes wrong w/ your Mac’s hard drive / SSD.
